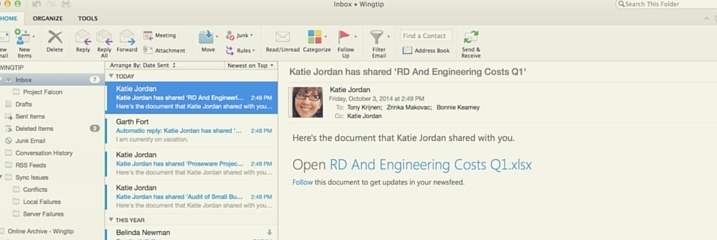
The chances are that if you work in a law office, then you’re using Microsoft Outlook many times a day. In fact, according to our email stats here at One Legal, if you’re not reading your emails on your phone (which a growing number of you are), then you’re almost certain to be reading them in Outlook.
In a busy legal office it is vital to stay organized – failing to notice an email that needs a response or missing an upcoming filing deadline just won’t do. Despite it being so commonplace, though, many people using Outlook don’t realize just how powerful a tool it can be for staying on top.
So, if you’re a paralegal or an attorney whose day starts and finishes with you peering into Outlook, this post is for you. Here are seven of our favorite Outlook quick tricks all legal professionals should know.
#1. Use the built-in date calculator to work out deadlines
The chances are that in your office you’re trying to juggle multiple deadlines, especially if your firm is focused on litigation. If, like me, you’ve ever tried to calculate the date on which a 30-day deadline expires by counting through the calendar pages, this trick is for you.
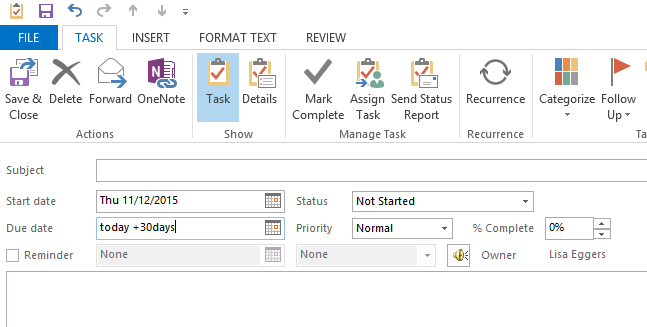
With the right wording, Outlook’s date field in tasks or the calendar can actually calculate a deadline for you. So, for example, to set a reminder task for 30 days in the future simply start a task window, go to the start date field, and type “today+30 days”, or however long you need. Outlook will automatically populate the due date.
#2. Automatically add public holidays to your calendar
A couple of times a year it’s inevitable that I’ll spend ages carefully scheduling a meeting, only for the first respondent to point out that the date is, in fact, a public holiday. This problem can be especially common if you’re working across a couple of countries.
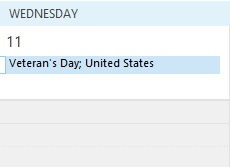
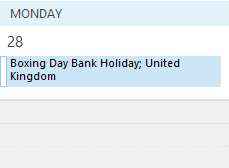
This can easily be solved, however, by having Outlook automatically add public holidays to your calendar — for pretty much every country on Earth. To enable this feature just go to file > options > calendar, and then select add holidays when you’re inside the calendar options.
#3. Unsubscribe from reply-all noise boxes
Is there somebody in your office who hasn’t yet got the memo about not hitting reply all instead of reply? Do you often find yourself trapped in seemingly endless email exchanges that long ceased to be of relevance to you?
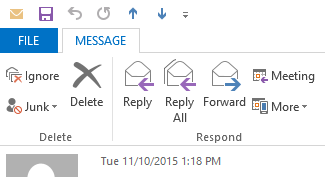
To save yourself, and your inbox, from the noise you can use Outlook’s ignore conversation feature. Just open up the offending message and hit ignore in the delete tab. Now all messages that are part of that thread will be automatically redirected to your deleted items folder.
#4. Improve the efficiency of your inbox searches
So pleased are they with the effectiveness of their inbox search tools that Microsoft have long advised Outlook users not to regularly delete emails, but rather to keep them in a single archive folder. That means a big folder stuffed full of emails, though. How do you find what you need quickly?
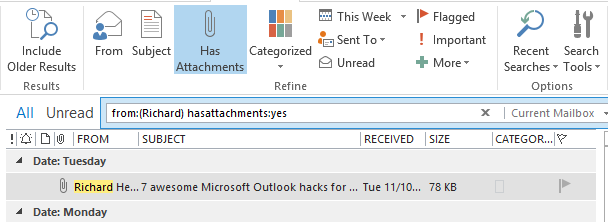
Fortunately, Outlook has just a few keywords and search operators that, if used together carefully, can drastically improve the efficiency of your searches:
- Want to display emails from a specific person? Type “from:Richard,” for instance
- Want them from a specific time? Add “received:last week,” for example
- Only want emails with attachments? Try “hasattachment:yes:”
- Or maybe you’re only interested in specific subject lines? Type “subject:minutes,” or whatever
#5. Show two time zones side-by-side in your calendar
Working across multiple time zones can be tricky (I’m constantly scheduling calls in Britain at 3 am their time!). When working across time zones it’s vital to be able to quickly glance at your calendar and be sure that you’re scheduling the meeting at a time appropriate for all participants.
With Outlook, you can quickly set your calendar to display two time zones side-by-side. To enable this feature just go to options > calendar > time zones > show a second time zone.

#6. Make better use of your email signature
Most people are now aware of Outlook’s ability to save an email signature – the block of info containing things like your name, company, phone number, and website – at the end of your email messages. But did you know that you can save multiple signatures and change them out depending on the type of message you’re sending?
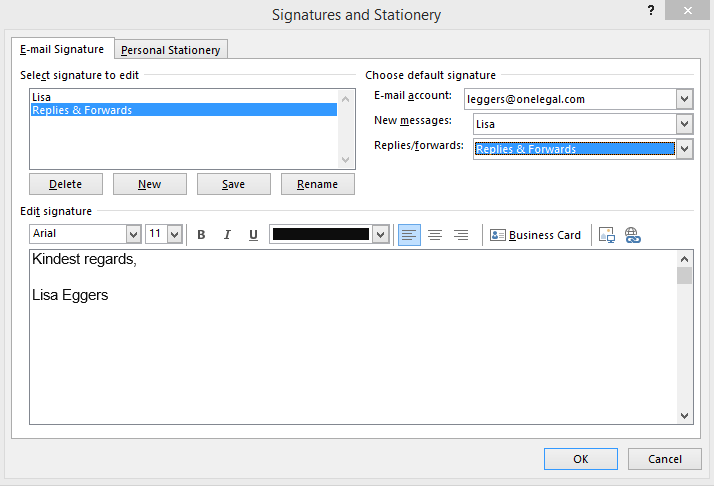
To create an email signature go to file > options > mail > signatures. In this dialog box you can create dozens of different signatures (perhaps you want one with marketing messages for clients, but a shorter and simple one for colleagues?). Once saved, you can set one signature as your default and then, on a case-by-case basis, quickly switch in another you can click “signatures” at the top of your email window and select the saved signature you want to use.
Want to automatically include a shorter signature on replies and forwards? Just create a signature as above and simply save the shorter version as your default signature for replies or forwards.
#7. Quickly create a task from an email you’ve received
Oftentimes you’ll get an email that contains a task that you’ll need to complete at some point. It can be tricky to remember all of these and time-consuming to write out a new task each time. Fortunately, Outlook has a shortcut for you.
When you want to create a task based on an email, you don’t have to re-enter all the information. Instead, just click on the message and drag it to “tasks” on the navigation bar. The contents of the message, except attachments, are copied to the body of a new task. A task created this way is the same as if you create a task from scratch, except you save time as contents from the message are automatically added to the new task. Just like for any task, you can set a due date, add a reminder, or assign the task to someone else.
What Outlook tips do you have? Did we miss your favorite trick? Share them in the comments.

